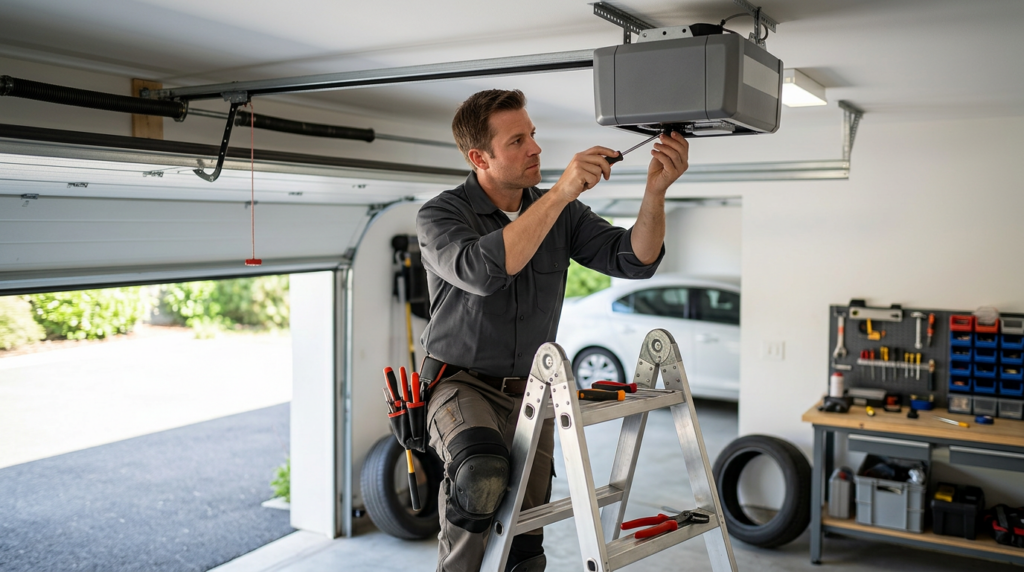
Quick answer: You usually need a repair if the opener still has consistent power and the problem is isolated—like misaligned safety sensors, worn drive parts, or travel/force settings that drifted. Replacement makes more sense when the motor is failing, the unit is very old, parts are hard to find, or major electronics keep acting up. A focused inspection of the door balance, sensor signals, and opener diagnostics can confirm the safer option.
Common Signs Your LiftMaster Opener Can Be Repaired
Many LiftMaster issues come from a handful of wear items and adjustments, not a “dead” opener. If the lights turn on, the unit hums, or the wall button works sometimes, that often points to a fixable problem like sensors, wiring, or drive components. A technician can usually narrow it down quickly during a liftmaster opener repair visit by checking the door’s balance, sensor alignment, and basic electrical connections.
Look for patterns: the opener starts then reverses, the door closes but pops back up, or it only works from the wall control and not the remote. On many LiftMaster models, that can trace to photo-eye sensors (dirty lenses, bumped brackets, sun glare) or control-board/receiver issues. A safe homeowner check is to wipe the sensor lenses, confirm both sensor brackets are firmly aimed at each other, and watch the sensor indicator lights: on many LiftMaster sensor sets, a steady light suggests alignment while a flicker can indicate misalignment, vibration, or a wiring problem.
Grinding, popping, or a “spinning but not lifting” sound can indicate a worn gear and sprocket assembly on many chain-drive LiftMaster units. Homeowners can often observe this safely by listening for a brief grind at startup, watching for jerky trolley movement, or noticing plastic shavings near the opener housing (don’t open the case). Another common LiftMaster-specific culprit is travel/force setting drift: if the door consistently stops short, hits the floor then reverses, or reverses at the same spot each time, the travel limits or force settings may be misadjusted or the door may be binding.
Repair vs Replace: A Simple Decision Rubric
Use this as a quick triage. Each line includes a “stop and call a pro” point to keep it safe.
Repair likely: Problem is intermittent and specific (remote/keypad, sensors, travel settings). Replace likely: Multiple symptoms at once (random behavior plus noise plus weak lift). Stop and call a pro: Door moves unpredictably or won’t stop reliably.
Repair likely: Opener runs but reverses at the floor; sensors show alignment issues or get blocked. Replace likely: Sensors are fine but the unit reverses erratically and diagnostics suggest repeated board faults. Stop and call a pro: Safety sensors can’t be made steady or the door closes without consistent reversal protection.
Repair likely: Grinding/clicking started recently; door still lifts but sounds rough (possible gear/sprocket wear). Replace likely: Loud grinding plus slipping that’s worsening quickly, or parts for your exact model are hard to source. Stop and call a pro: Trolley binds, rail flexes, or you see smoke/strong electrical odor.
Repair likely: Door is heavy or won’t stay halfway when released (often a door/spring issue, not the opener). Replace likely: Opener motor is weak even after the door is confirmed properly balanced. Stop and call a pro: You suspect a broken spring/cable (gap in spring, hanging cable, door crooked).
Repair likely: Unit has power but won’t respond; wall control works inconsistently (could be wiring, control panel, logic board). Replace likely: Repeated logic board failures or repeated power-related issues after basic electrical checks. Stop and call a pro: Circuit trips, outlet is hot, or you see scorched wiring.
Repair likely: Opener is older but otherwise stable; one component failed (gear kit, sensors, wall control). Replace likely: Very old unit with limited parts availability or you want battery backup/smart features for reliability. Stop and call a pro: Any time the opener’s safety reversal test fails and you can’t correct it immediately.
Quick Checks You Can Do Before Calling
Start with the simple stuff: replace remote batteries, make sure the lock/vacation switch on the wall control isn’t engaged, and confirm the opener is plugged in with the breaker/GFCI not tripped. Clean the safety sensor lenses and verify both sensor LEDs show a steady, aligned signal; on many LiftMaster sensor sets, a flickering or dim indicator can point to misalignment, vibration, or a damaged wire.
Then test the door manually: pull the emergency release (with the door closed), lift the door by hand, and see if it moves smoothly and stays about halfway up. If it drops fast or feels very heavy, stop and get the door hardware checked first—springs and cables can be dangerous. Also inspect the track for obvious bends and listen for roller binding. If the door passes the manual balance test but the opener still reverses or stalls, that leans back toward opener settings, sensors, or internal wear.
If your LiftMaster has diagnostic lights or a learn button with LED feedback, note what you see right after a failed cycle. Many LiftMaster units provide flash patterns that help narrow down sensor, travel, or logic issues. Don’t open the opener housing; just record the visible indicators and the exact behavior (for example: “starts down, hits floor, reverses immediately” or “stops 6 inches from closed every time”).
What to Expect From a Professional Service Call
A solid service visit usually includes confirming the door is balanced, inspecting the rail and trolley, checking chain/belt tension, testing the safety reversal system, and verifying sensor alignment and wiring. For LiftMaster units, the technician may also interpret diagnostic LED patterns, check wiring to the wall control and sensors, and inspect the gear/sprocket assembly for wear and slippage.
Some LiftMaster openers with AC motors use a start capacitor that can weaken over time; many DC-motor models are designed differently and may not use the same style of capacitor. A tech can also confirm whether travel and force settings are appropriate for your door and whether binding hardware is overloading the opener.
Before you call, have these ready so the visit is more efficient: the opener model number (often on the unit), a short description of the symptoms and sounds, any diagnostic LED flash pattern you observed, whether the remotes and wall button behave differently, and the result of the manual door balance test. If you want help sorting repair vs replacement and getting it operating safely, contact AA Garage Door LLC with that information.